Grace Lutheran Church
Erskine, MN
Newest posts are at the bottom
Click here to return to our home page
This project includes the complete redesign and relocation of a 6 rank (Lance) Johnson pipe organ. The existing electrical system will be
completely replaced with a modern solid-state system. All the pipes of the organ will revoiced to refine the sound of the organ.

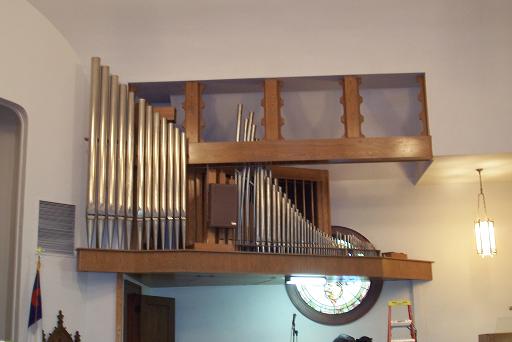
This is the organ as it was originally installed.
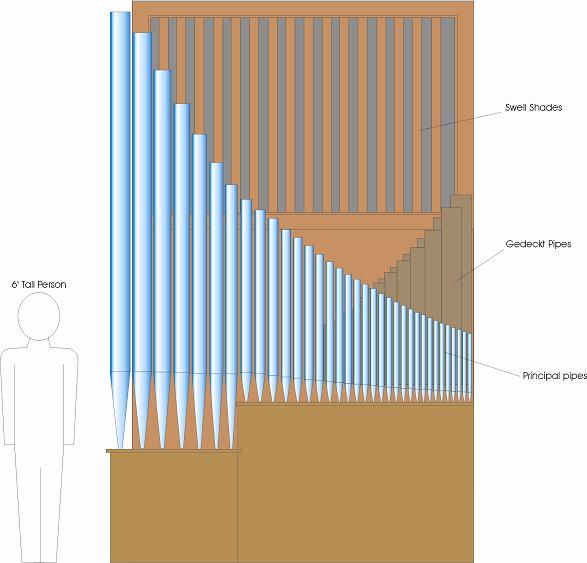
This is the new design for the organ. All of the original pipes are re-used as is as much of the original woodwork as possible. The new case will extend floor to ceiling in the location shown below.
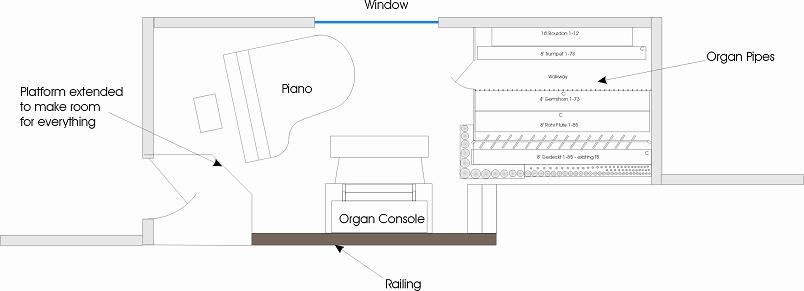
This is the plan of the music area in the church showing the new location of the organ pipes and the console. The church will be extending the platform a bit to allow for more room.
REMOVAL HAS BEGUN!!
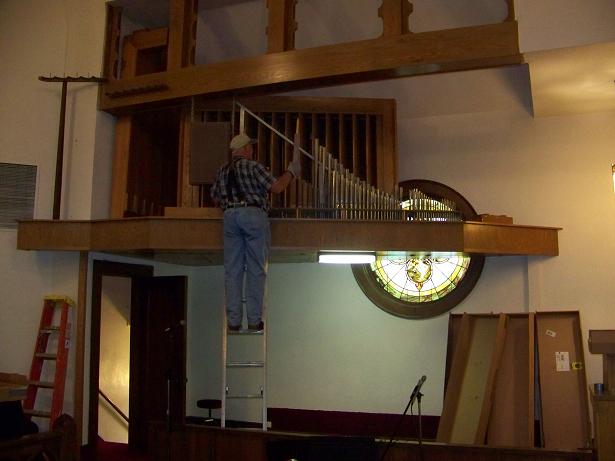
The pipes of the organ are removed and packed in cardboard trays, like those in the lower right, for the trip to the shop.
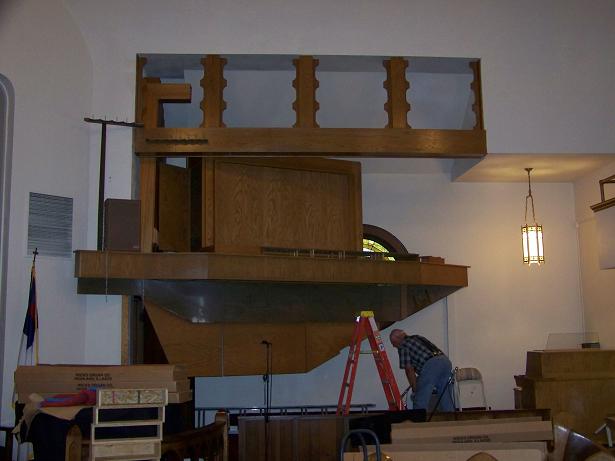
All of the pipes have now been removed. The bottom panels of the casework are hanging down beneath the organ.
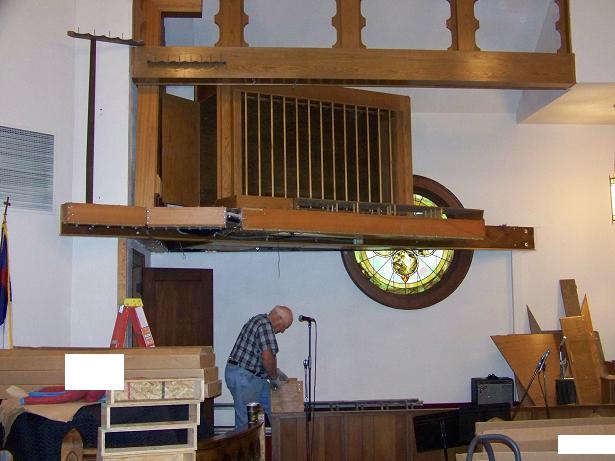
The casework has been removed.
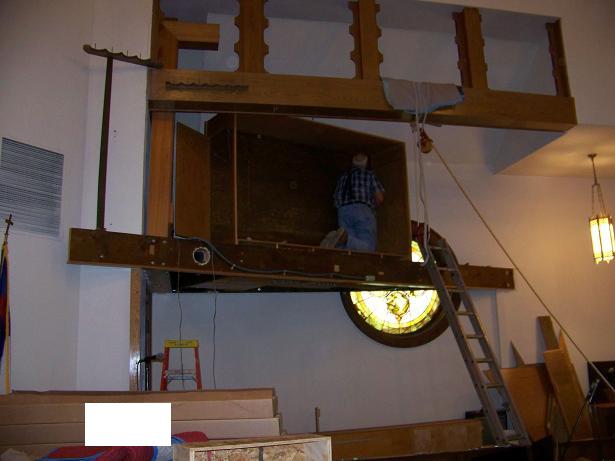
The windchests for the exposed pipes have been removed along with the swell shades (louvers) that were behind them.
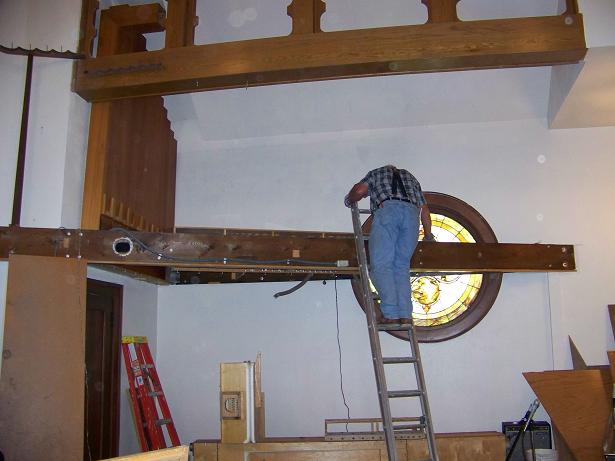
The swell box has been removed. Now the framework (dark brown lumber) will be taken down. The entire considerable weight of this organ was almost completely supported on the large beam that the ladder was leaning against. It is about 20 feet long and made of 2 thicknesses of 2x12 lumber.
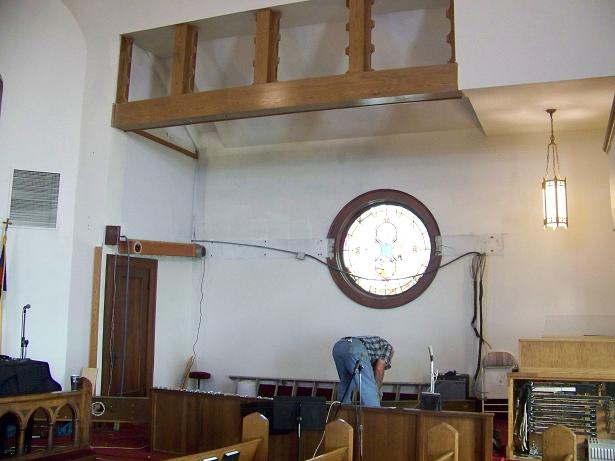
Everything is down but the windchest of the 16' Bourdon pipes above the door on the left.
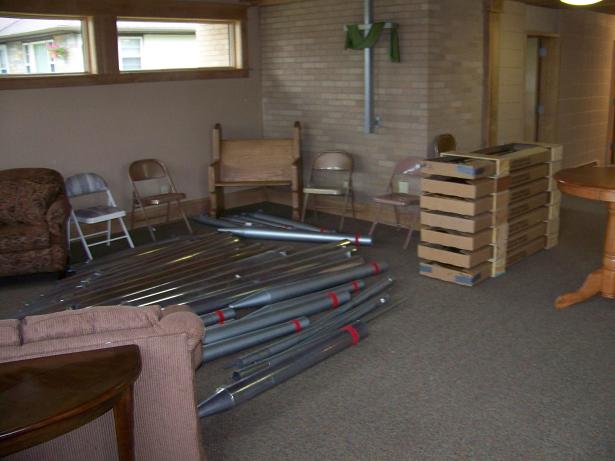
All of the pipes in the Narthex of the church waiting to be loaded into the trailer.
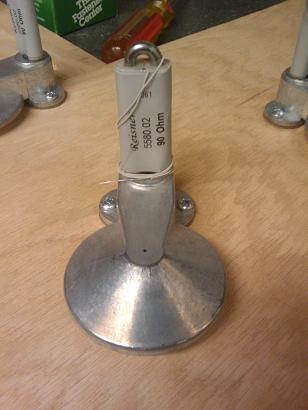
First order of business is the build the new windchest required for the lowest 12 pipes of the 8' Principal. This is one of the valves for this windchest.
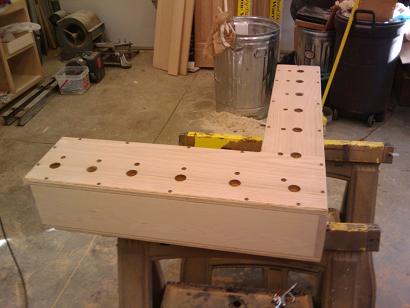
This is the completed windchest for the Principal. It fits around the corner of the organ in its new layout and creates part of the facade.
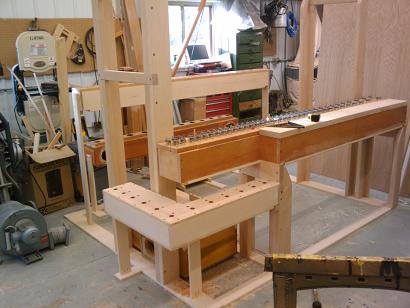
The chest has been installed in the new structure of the organ. It is at bottom center in the picture. Also shown is the new structure of the organ including legs, windchests and framing.
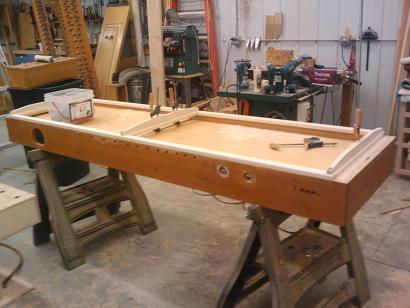
Part of the reconstruction process includes the installation of our easy access panels on the bottoms of the existing windchests. Shown here is the main swell windchest laying upside down on the sawhorses. The new panel and frame system has been installed. The existing chest is brown and the new panel system is white. These panels make it very simple to access the interior machinery of the winchest in the event that a repair is needed. The wind pressure inside the chest hold the panels in place against their gaskets. When access is needed the wind is shut off allowing the panels to slide open. No need to remove a ton of screws as in the old style bottom board systems.
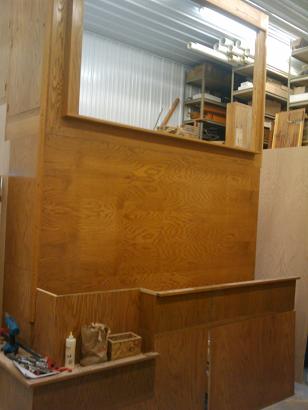
Here the casework is being assembled around the organ. Most of the wood for the case has been reclaimed from the old casework. The large opening at the top will have swell shades installed in it. The exposed pipes of the great organ will stand behind the lower casework.
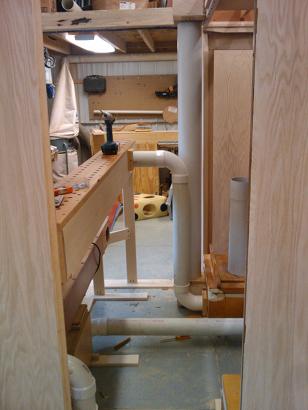
"Winding" is complete. This is the process of running windlines to conduct the pressurized air from the blower to the bellows and then to the various windchests. These windlines are made of PVC plastic.
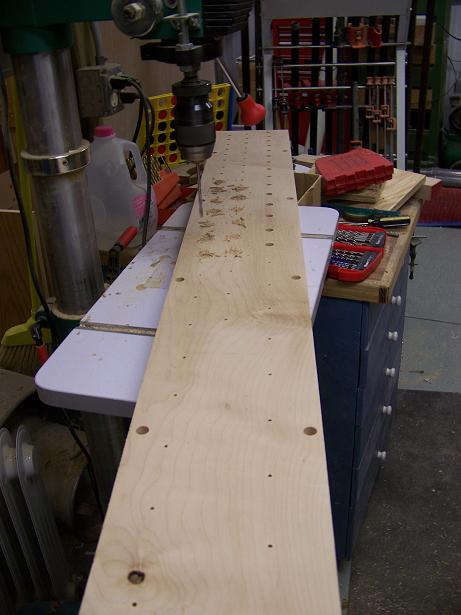
In order to create an attractive arrangement of the 8' Principal pipes for the facade, a new toeboard is needed. This is the board on which the pipes stand and to which the valves are attached. Here is the new toeboard, made of 1 1/2" Maple, being drilled. The toe holes are carefully laid out using a computer to obtain the proper spacing of the pipes. The measurements are transferred to the toeboard prior to drilling.
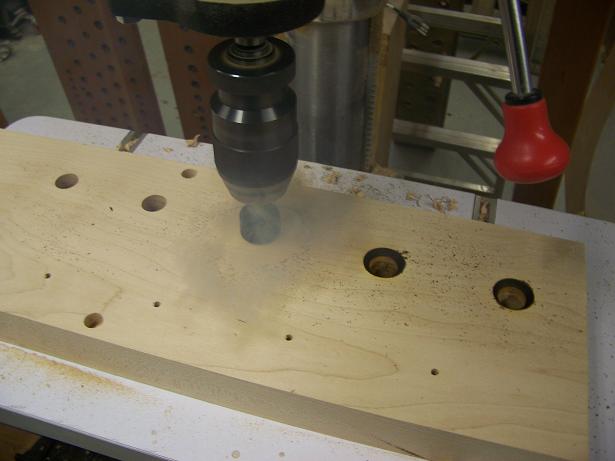
After the toeholes are bored, each one is countersunk and burnished using a "mounted point" spun at a very high speed in the drill press. This makes a nice smooth surface for the toe of the pipe to seat against.
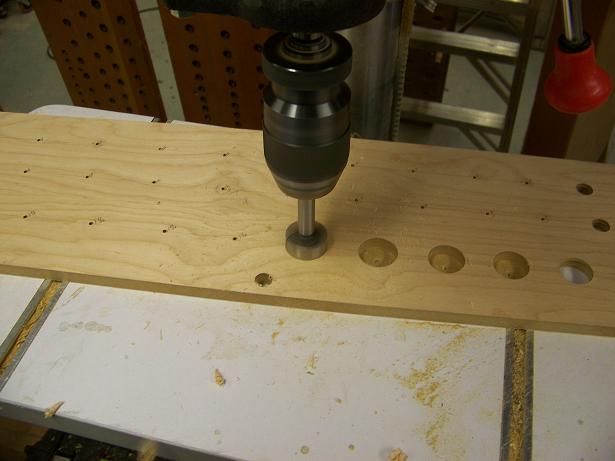
The other part required for the new facade arrangement is the rack board. This is a thin piece of wood which supports the pipes in their upright position. Each pipe is measured using a special jig and then the rack board is drilled out to fit the pipes.
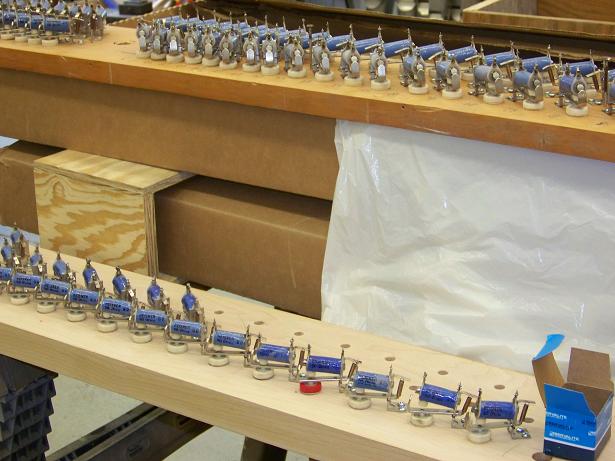
After the toeboard has its holes bored and countersunk, the valves are mounted to the underside. Here are the valves for the 8' Principal (bottom) being installed. There is one valve like this for every pipe in the organ. There are about 450 pipes in this organ.
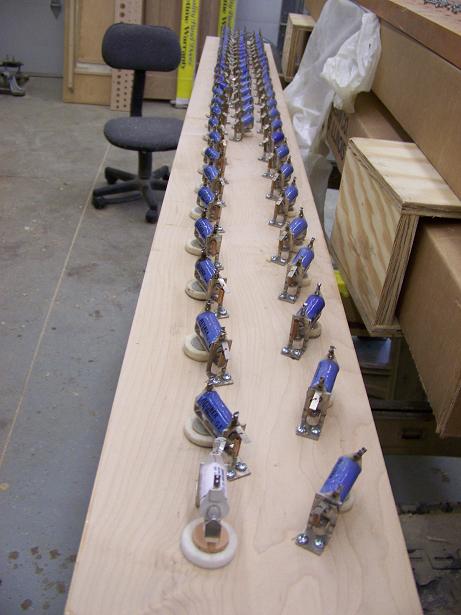
Another view of the valves for the 8' Principal. These are "electro-mechanical" valves. Under the blue wrapping is an electromagnet which pulls open the valve, made of leather and white felt, when the appropriate notes are played by the organist.
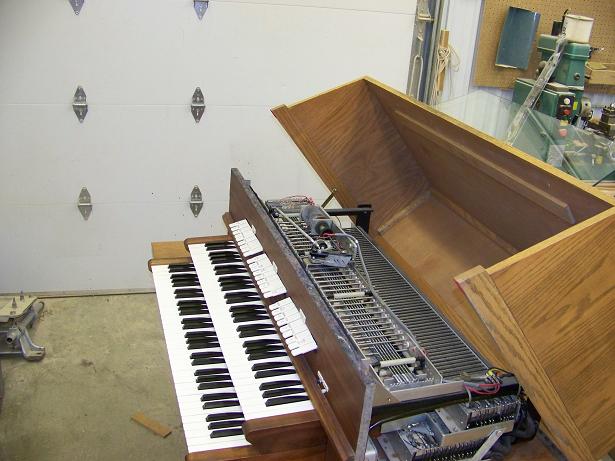
Next order of business is the upgrade the organ console to "solid-state" systems. That means transistors, diodes, etc rather than the many moving parts shown here. This is the interior of the console as it originally was, showing all the old machinery (which has stopped working) for moving the stop tabs.
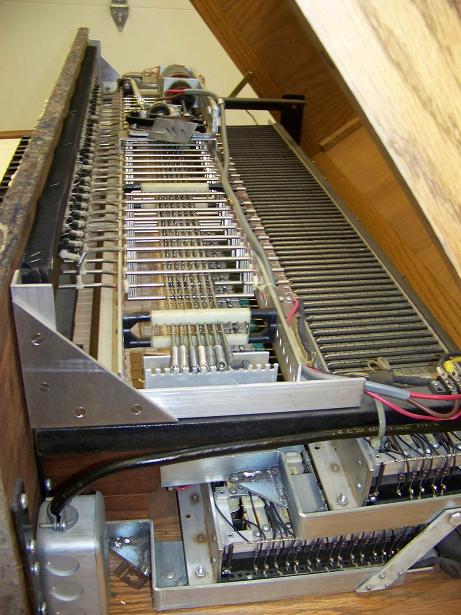
This is a close up view of the same machinery. Notice the very complex nature of this equipment. Towards the right in this picture are the old key contact systems. For each key there were about a dozen very fine silver wires that activated the pipe valves when a key was despressed. If these wires broke off or corroded there would be dead pipes for that key.
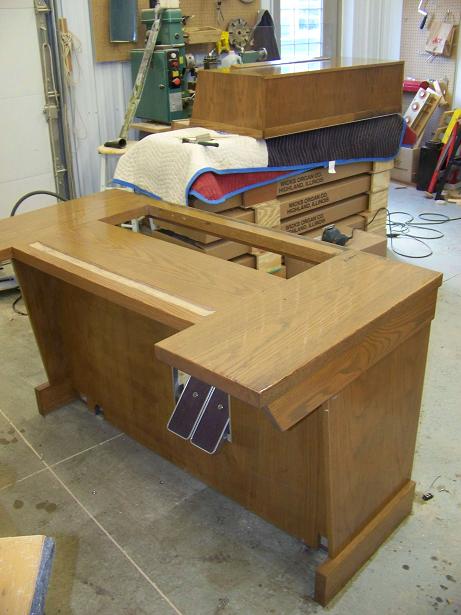
It's all gone! All of the old machinery has been removed from the console base and discarded.
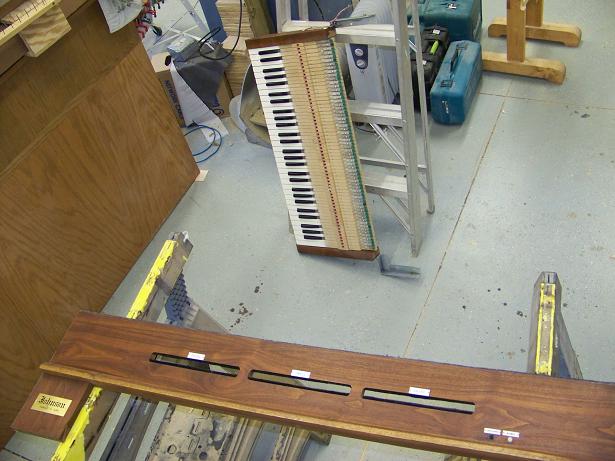
At the bottom of this picture is the original stop rail. This piece of wood holds the stop tabs that the organist uses to control the many different sounds of the organ. In the background is one of the keyboards.
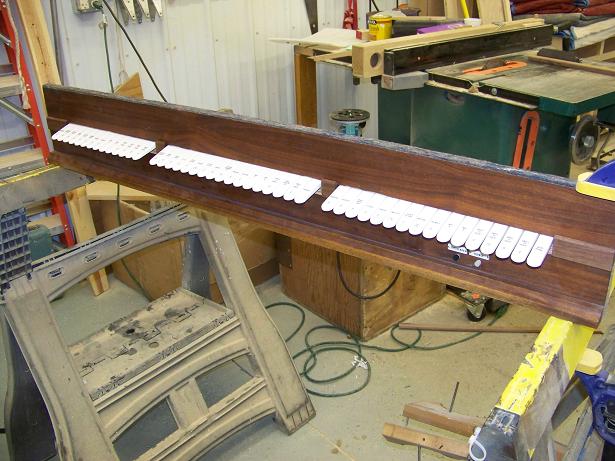
Here is the stop rail after having the new stop actions and stop tabs installed.
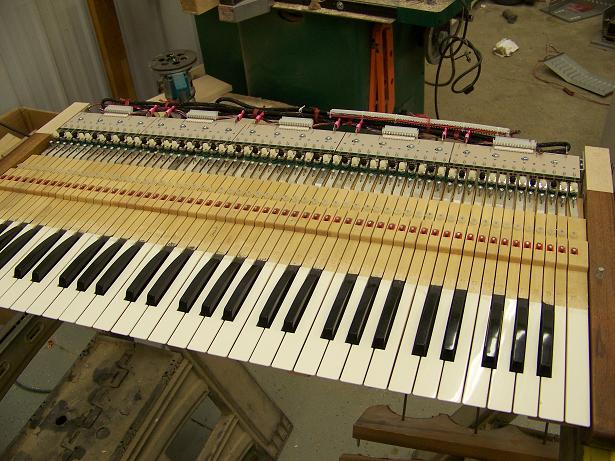
Here is one of the keyboards after having the new key contact system installed. The console will now be reassembled to be ready for installation in the church.
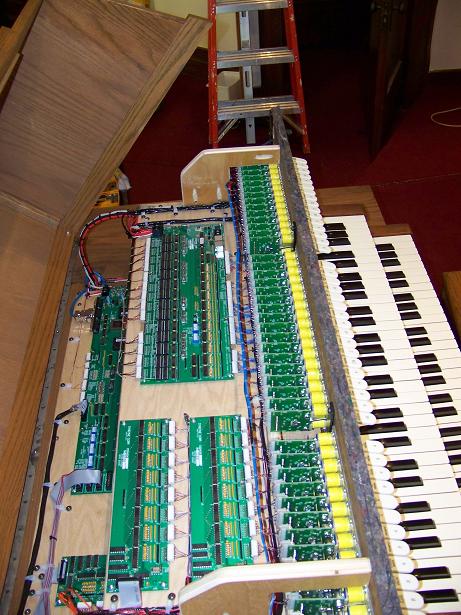
The inside of the console after restoration.
INSTALLATION HAS BEGUN!!!!!!!
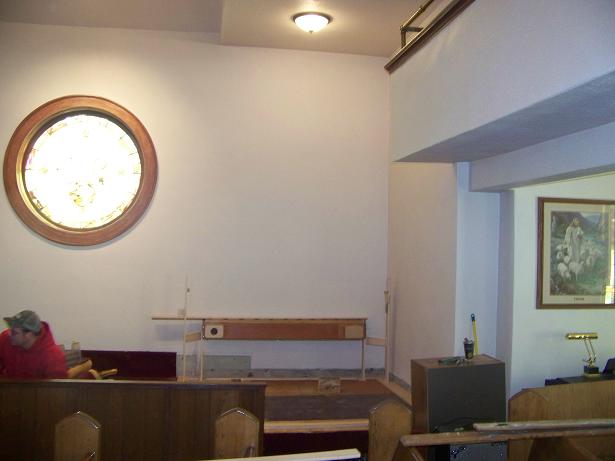
The organ will be installed in a new location on the floor. The molding around the rose window which had been cut out when the organ was originally installed has been expertly re-created by a local craftsman. Here you see the windchest for the 16' Bourdon pipes installed against the back wall of the organ area.
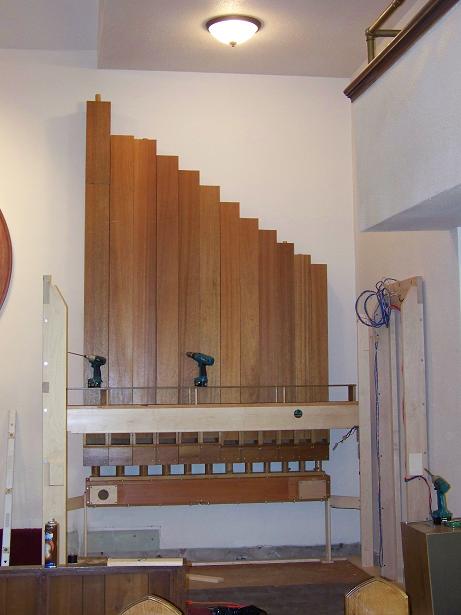
Here are the 16' Bourdon pipes installed on the windchest. The Trumpet windchest has been installed in front of the Bourdon.
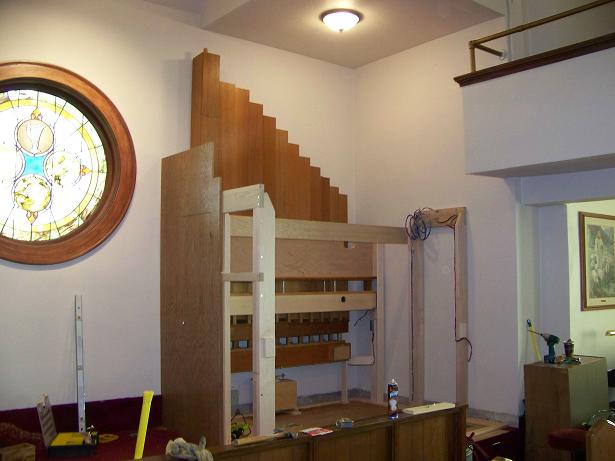
Here are the legs for the Swell windchest as well as some of the exterior casework in place.
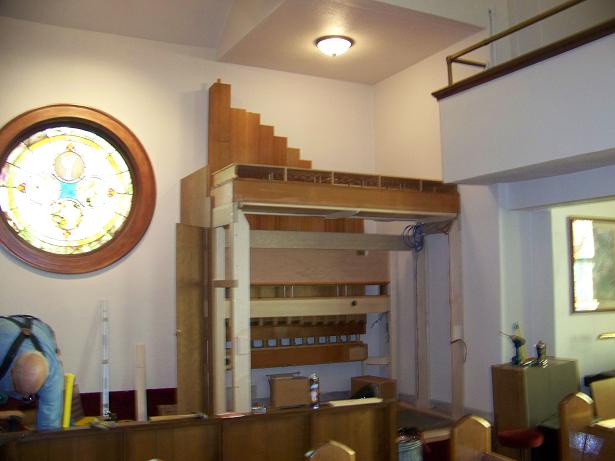
The main Swell windchest is in place on its legs.
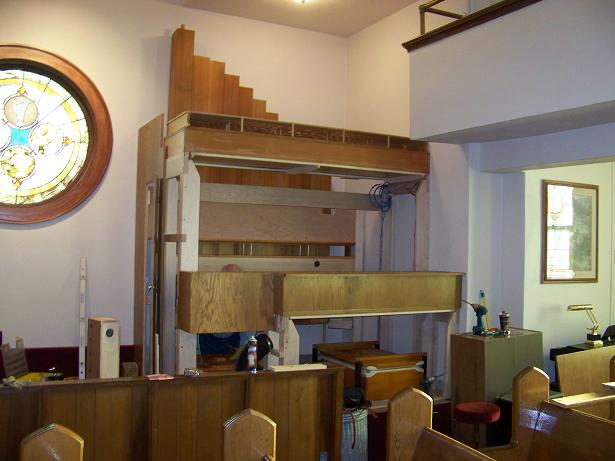
The Great windchest and casework is in place.
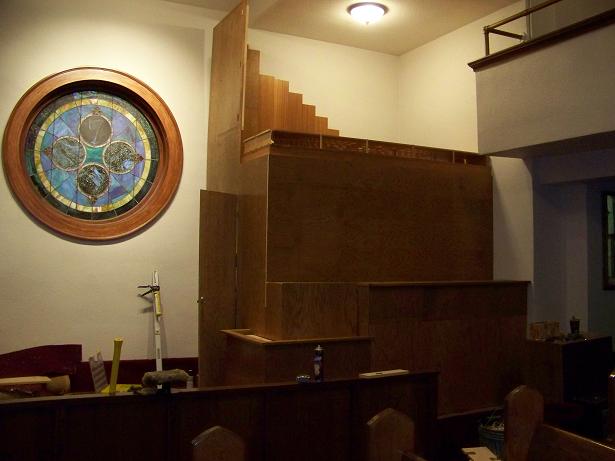
All of the lower casework has been installed.
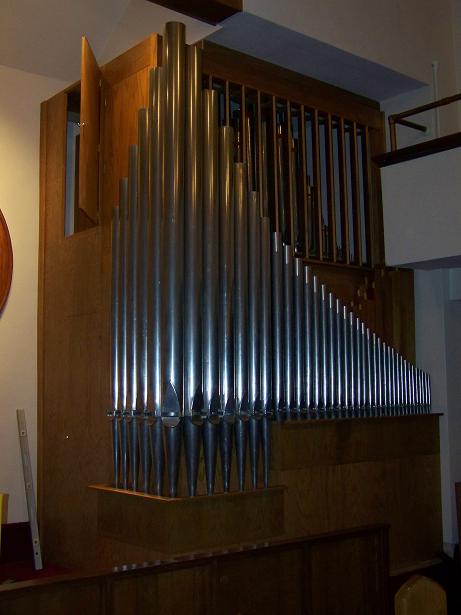
The remainder of the casework and all of the pipes have been installed. Voicing and tuning are underway.
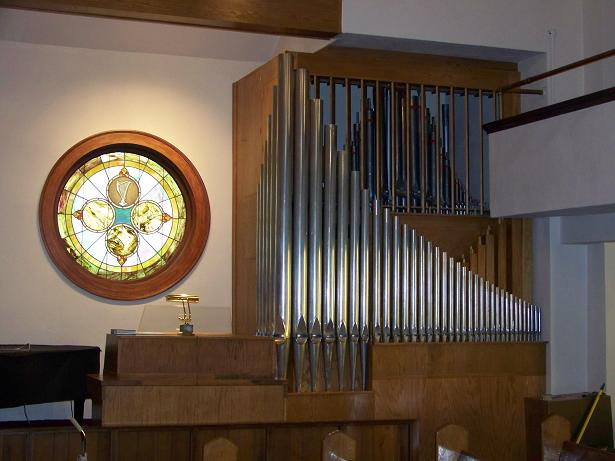
Installation is complete!